

Create a Job
Create a Job
Note: Before you can create a job, please ensure you have some resources set up in the system:
- You have set up your inventory (if required).
- You have set up your assets (if required).
- You have set up your templates (if required).
- You have set up staff and professions (if required).
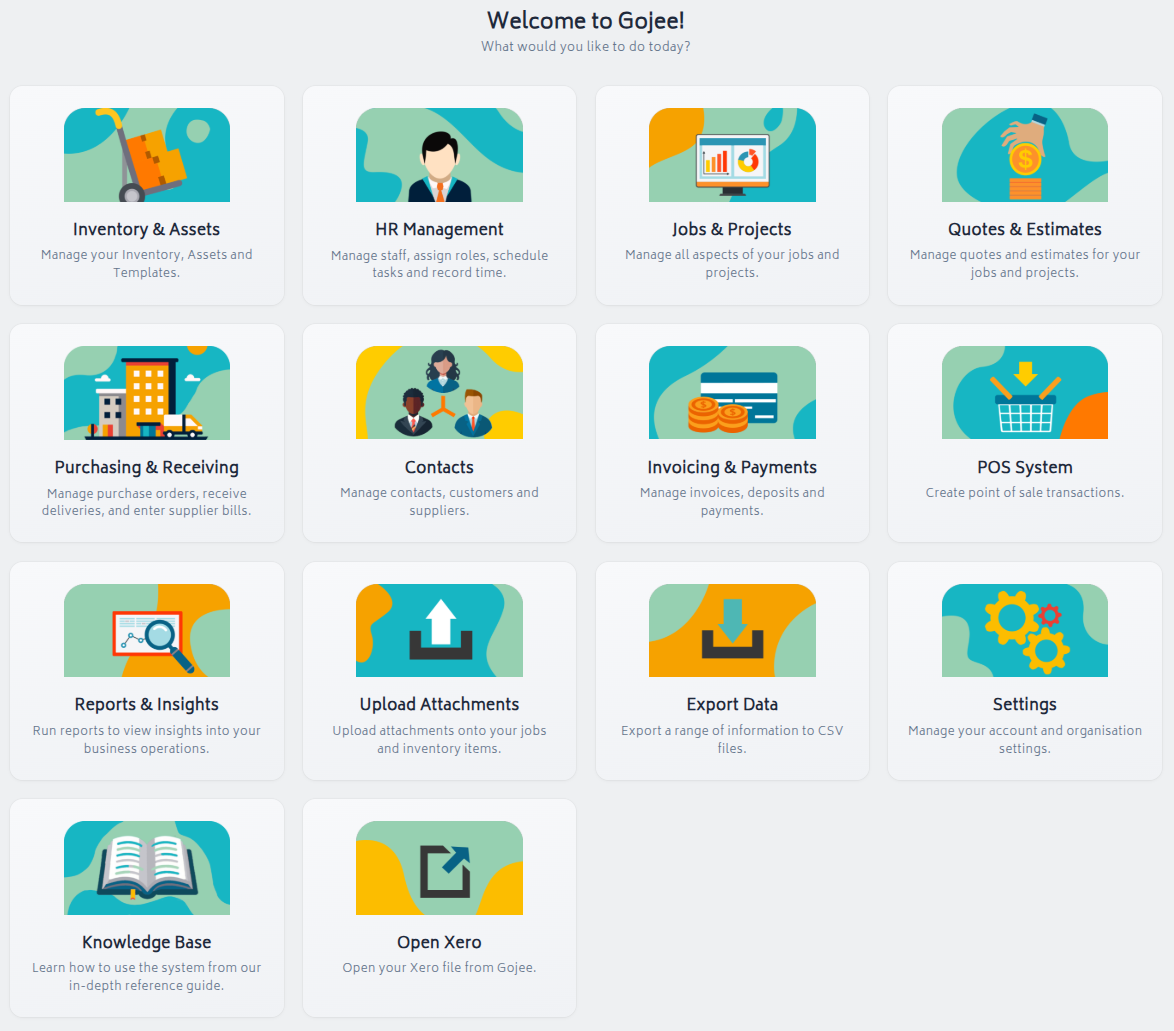
To create a job, click on Jobs & Projects then click “Create a New Job”
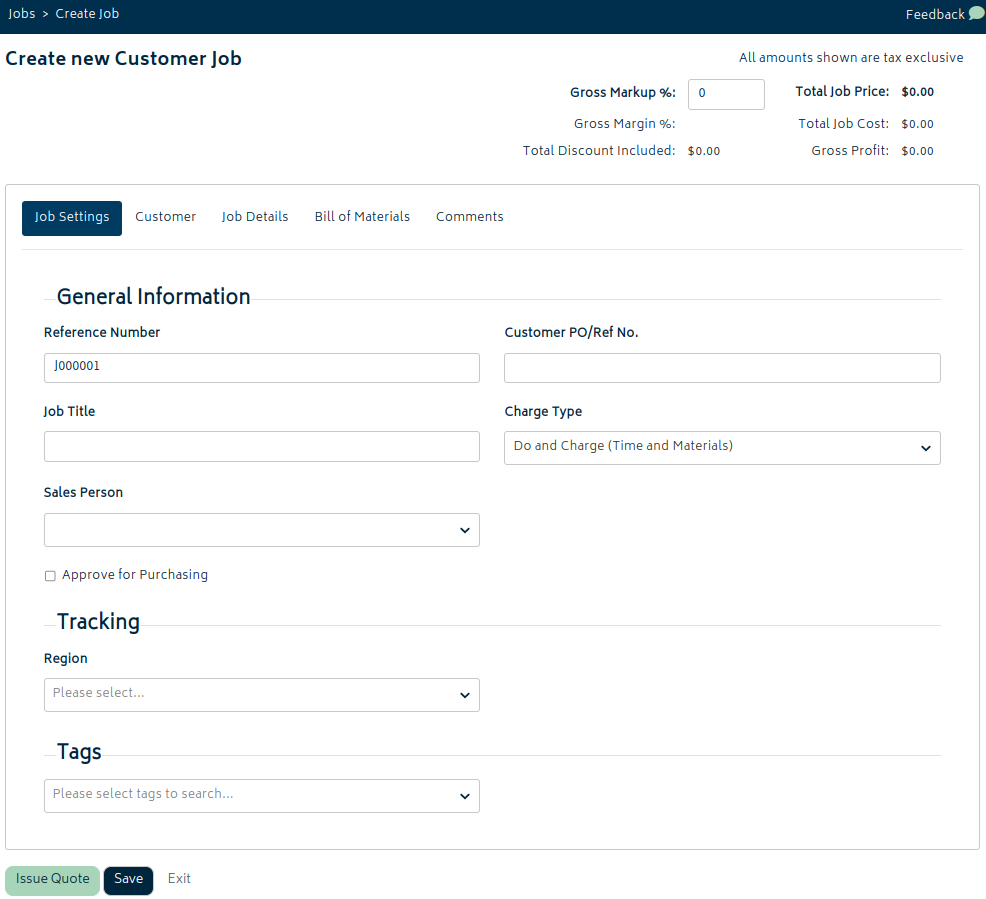
You will be navigated to the job creation page as below:
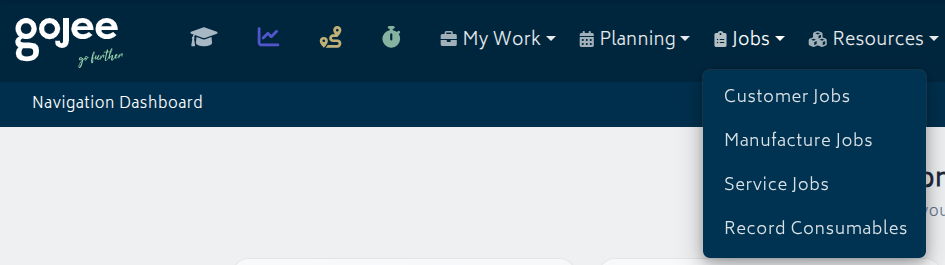
Alternatively, you can also add a job from the Job List. You can get to it via the "See All Jobs" button directly under the Create a New Job button or via Jobs > Customer Jobs at the top of the screen:
On the right-hand side, you have the options to "Add" or to "Import Jobs".
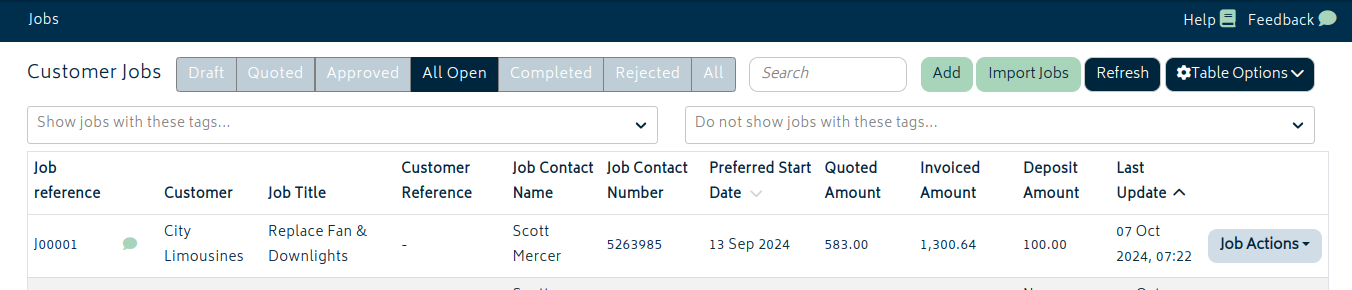
Importing will allow you to import basic job information and BOM via CSV. It is useful if you use systems alongside Gojee, are trying to migrate jobs across from a previous system, or need to quickly create multiple jobs at once. Just follow the modal instructions and the provided job format in the template CSV.
There are several different tabs or sections of the job. Each of these are described below.
Job Settings Tab
The following fields are available in the job settings tab:
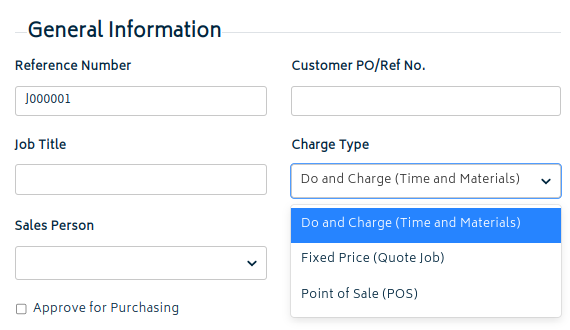
- Reference Number: a unique identifier for every job that is created in the system.
- Charge Type: Changes the type of job and how it is handled. Allows you to select “Do and Charge”, “Fixed Price” or “Point of Sales” jobs.
Note: Different job types refer to different workflows that can be used within Gojee while managing a job. For clarification:
- Do and Charge Job – otherwise known as a Time and Materials job, this job type allow users to estimate a job, commence the work, and bill the client for costs incurred plus margin.
- Fixed Price – Allow users to be able to raise a quotation against a job, received quote approval and commence work once it has been approved / confirmed by customer. The quote will be honoured so in most cases the invoices will reflect the quote (not the actual job costs).
- Point of Sales (POS) – Allows users to transact and record over the counter sales – this is perfect to sell inventory items.
These can be changed until the job is saved. POS jobs will not be able to be changed to other types, nor other types to POS.
- Job Title: (Optional) You may add anything for your internal reference and tracking.
- Customer PO/Ref No: (Optional) In a case where you receive customer’s PO in advance, you may add that PO number for tracking purpose, or you can come back and add it later.
- Sales Person: (Optional) If you would like to allocate a sales person to the job for tracking purposes, you can select the person from this dropdown.
- Approve for Purchasing: If the job is still in draft stage, leaving this checkbox blank helps prevent accidental stock purchases. If ticked, allows stock purchases to be made for the job.
Prerequisites
In order for users to be able to select a salesperson, the staff must have been set up as sales representative. Please refer to Employees and Contractors for more information.
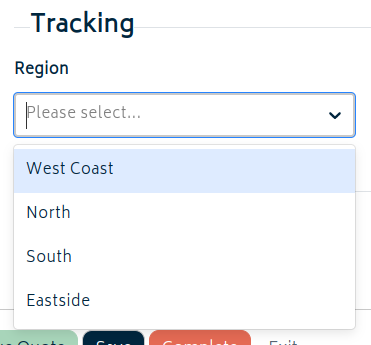
Tracking categories are set up in Xero. They're found under Accounting > Advanced > Tracking Categories. For each category, you can assign one option. They will be visible on manual journals in Xero when users record consumables or return stock, and raise goods receipts related to this job.
If a project-linked tracking category is set up in Organisation Settings, Gojee will automatically create a matching Xero tracking option for each new customer job using the job reference. Renaming the job reference will also rename the linked tracking option.
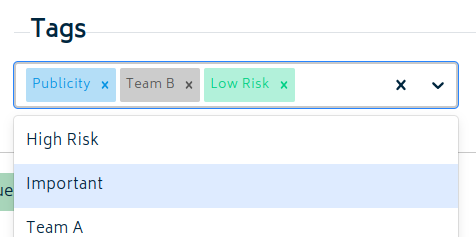
Tags allow you to quickly categorise and filter jobs. Refer to Tags for more information.
Customer Tab
On this tab you can choose the customer for the job.
As Gojee is integrated seamlessly with Xero, all your existing customers from Xero will be available. You can start typing a customer’s name and Gojee will filter the result based on your input:
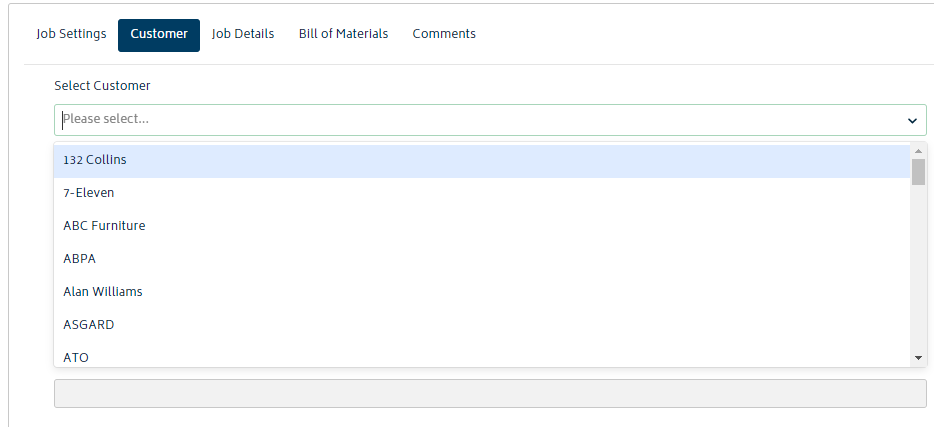
If the customer doesn’t exist, its easy to add the with the create option in this field. Just type the name and then click on the create option in the list as shown below. Customers created in this way will be synced with Xero once the job is saved.
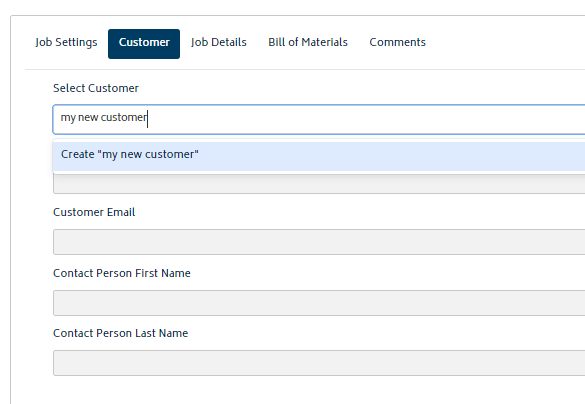
Note: The customer fields will become locked if any valid invoices exist for the job to prevent mistakes. If you need to change them after invoicing, you can either void the invoices for the job (possible until payment recorded) or modify the contact details directly in the contact list.
Job Details Tab
Enter Job Details
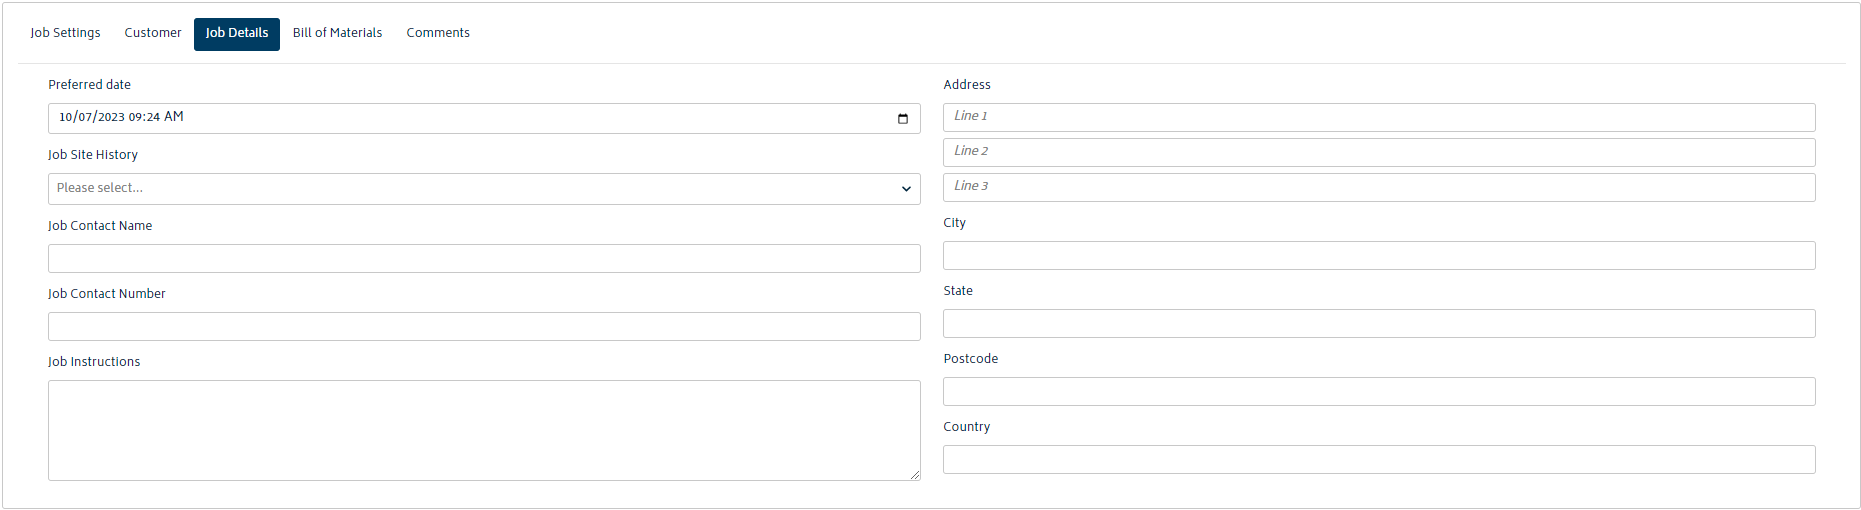
- Close Date: Leads only. The expected close date for this lead. If this date passes, the date will be highlighted in red on the lead list/kanban.
- Start Date: Estimated date and time to commence work. This comes in handy especially in cases where you would like to schedule staff members on a job and allow them to record their time against the job.
- End Date: Estimated date and time for work to complete. If both a start date and end date are present, the job will show up on the Job Schedule.
- Job Site History: While creating a job for the first time for a customer, you might not see any information available in this section. In the case of jobs for repeat customers, up to 10 of the last job site locations will be shown.
- Job Instructions: Job instructions are used to hold instructions, customer history, or any other contract details that are crucial for your team while carrying out a job. These will be visible by your internal staff and not the customer.
- Address: This is the job site location. A job site location can differ from customer’s own physical address. Gojee leverages Google Maps to suggest a job site location based on your input. If you need this to suggest addresses from other countries, you will need to add the countries to Address Autocomplete under Organisation Settings. Addresses based in countries not registered there can still be entered, they just won't be able to auto-complete.
BOM (Bill of Materials) Tab
The purpose of the Bill of Materials (BOM) is to allow you to detail the combination of resources required for the job. Gojee treats your Bill of Materials on any job as a baseline and calculates your job estimated revenue, costs and profitability from it. All the other functions (i.e. purchasing, invoicing, recording consumables, and job progress) by default work based off the values in your BOM.
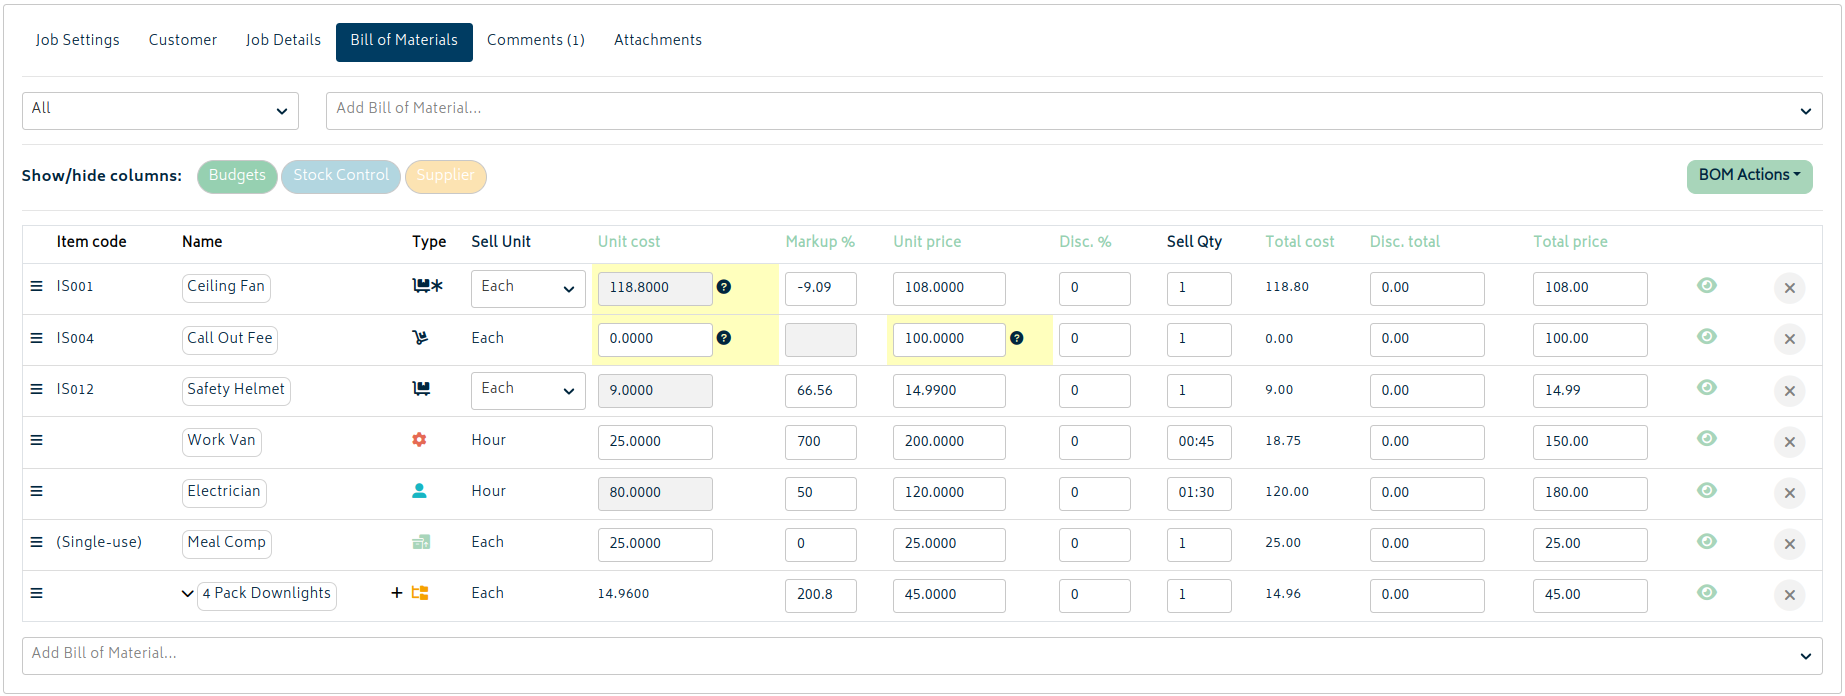
This is the heart of any job - once you have added the required materials, you will be able to choose Job Actions to start your workflows for the job. Job Actions are unavailable if there are no items in the BOM.
To learn more about the BOM, please refer to the Bill of Materials (BOM) article (also linked at bottom of page).
Comments Tab
After the job has been saved, the Comments tab will become available for use.
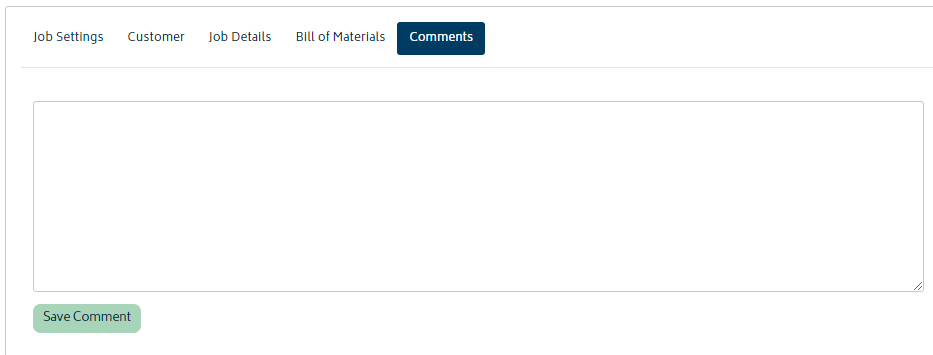
On a job, users can save and view comments made by themselves or other users. This section of the job is one way to view and create comments. The other way to do this is from the "View Job" button for any task on the Active Jobs page for users.
Job comments are stored for internal reference and will not be added to any customer facing documents.
- All the comments added into a job can be viewed by all the staff members who are scheduled for the job. Refer to Scheduling for more information.
- All the comments added into a job can be viewed by all job managers and admin users as well either by accessing the job itself or going to the staff schedule page.
- Comments cannot be deleted or edited. Be careful when you post comments.
Attachments Tab
Similar to the Comments tab, after the job has been saved, the Attachments tab becomes available.
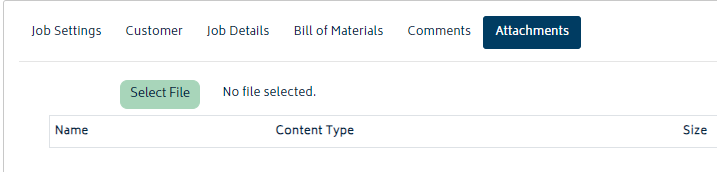
After a job has been created successfully, this option will be made available for users to attach any documents to the job:
- Any type of file can be uploaded.
- No limit on the number of files.
- There is a limit on the size of individual files. If you reach this limit please contact our support team and we can assist you.
All uploaded files will be available internally to any users scheduled onto the job, or with sufficient access to see all jobs.
Saving the Job
Note: changes to the job page will only be saved if the user hits “Issue Quote” or “Save” before navigating away from the page (going to Job Actions counts as navigating away).
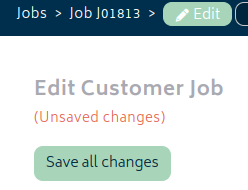
- If there are changes made to an existing job, a green "Save All Changes" button will appear below the Edit Job header. This can be used to save the job before visiting the Job Actions pages.
- If the user would like to go directly from the job creation page to the quote page, the user can select the “Issue Quote” button. This will save changes before creating the quote.
- To return to the Job List page, the user can hit “Exit". This will prompt if there are unsaved changes.
- To mark the job as complete in the system, users can hit the "Complete" button. Note that this will not actually save any changes and those should be saved separately.
To learn more about issuing quotes please refer to Quotes and Estimates.
Next: The Bill of Materials (BOM).